
As the primary tool, and source of pride when you’re out on the range or stalking through a forest, your recurve bow needs to be an extension of your body, and by definition, personalized to you. Whether you’re buying a new bow, or your old bow is looking in need of some customization, you might be asking yourself, can you paint recurve bow limbs?
Recurve bows tend to come in either standard black, silver, or wood finishes. But what if you want to put your own spin on things?
There are a number of ways you can customize your recurve bow, and painting the bow limbs is definitely one of them. No matter the material, you can add paint without any adverse effect on your shooting.
There are a few steps you need to take before you get to the painting stage, which we’ll cover in greater detail below.
How To Paint Recurve Bow Limbs: A step-by-step process
When painting recurve bow limbs, in order to get the best possible result, you’ll need to follow a step-by-step process, as well as get hold of the specific materials.
Materials you’ll need:
- Sandpaper – one heavy grain, one light grain
- Adhesion Promoter – to ensure that your paint goes on smoothly
- Primer
- Clear coat or finish
Considerations:
You’ll need two sets of sandpaper. One light grain, and one heavy. The heavy grain is to prep the limbs, and the lighter grain is for finishing.
You’ll need a good adhesion promoter to make sure that the paint sticks to the limbs. Used in the automotive industry, it helps to make even paint-resistant surfaces more adhesive.
When choosing your paint and primers, remember that your bow limbs are going to flex and move as you shoot, so choosing something that has been created to handle structures that flex will help to avoid cracks and bubbles in the future.
The Process:
Once you’ve broken down your bow and removed the limbs, you’re ready to get started with prepping. If there are any specific areas of your bow limbs that you don’t want to be painted, you can use painter’s tape to cover those areas up.
- Using the coarse grain sandpaper, sand down your limbs to remove any existing paint and excess dirt particles
- Next up is the adhesion promoter. Just before you add the primer, give the limbs a light coating, making sure all areas get even coverage.
- Primer time – make sure to add multiple layers due to the stress and strain your bow limbs have to endure as you use the bow. Use the light-grain sandpaper in between each coat to give the limbs a light sanding.
- Now you can paint! Again, add multiple layers here to factor in the flexing and limb movement. Light sanding is a must in-between layers to ensure good paint adherence.
- Finishing – here you can add the finish or clearcoat to seal your paint job. Make sure you follow the product guidelines to ensure the correct appliance.
Once your bow limbs have been painted, leave them to dry for at least 24hrs before stripping off any tape you need to remove. Once dry, go ahead and reassemble your bow.
More customization
Camo-effect
If you want to add another level of customization, you could add a camo effect to your bow by simply adding leaves and other foliage to your limbs as a stencil. You can spray over them with one colour, then add another layer of leaves and repeat the process, and spray on another colour.
Once you’ve done as many layers as you want. Slowly remove the leaves. This should leave you with a nice camo effect. You can blend the layers by lightly rubbing some steel wool over the limbs.
Check out the video below on how to add a camo effect on your recurve bow by using stencils and spray paint.
Snakeskin effect
This one’s a little tricky. Ok, not really tricky…but you’ll see what I mean!
It involves buying a set of fishnet stockings (really). You just need to slip the stocking over the bow limb and spray the stocking. You can rip and stretch the material as needed to get the effect you need. But after you’re done, you should have a nice snakeskin design on your bow limbs.
Check out this video on how to add the snakeskin look!
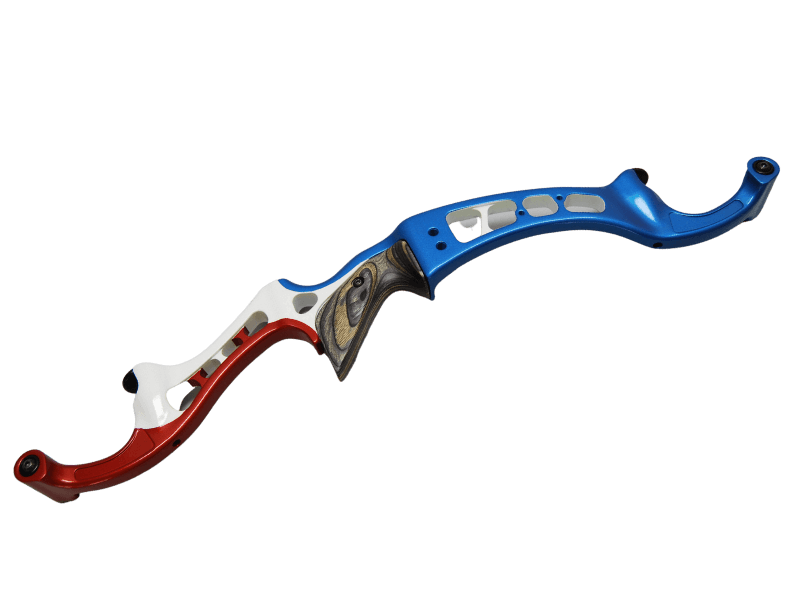
Anatomy of a Recurve Bow

There are more to recurve bows than just the limbs. In fact, any part of the bow (apart from the bowstring) can be customized with a paint design of your choice.
There are three main parts to the recurve bow:
- Limbs: Upper and Lower – these top and bottom pieces flex and bend as you draw the bow string back.
- Riser – the solid, central section of the bow that houses the limbs, grip, and arrow rest.
- Bowstring – attaches to the limbs. Cannot be painted due to the amount of movement during shooting.
There are many accessories you can add to your bow, such as stabilizers, sights, and clickers that can enhance your shooting ability. (You’ll need to check which of these parts you can paint over)
Honourable Mentions
A couple of other techniques for customizing your bow limbs that are mentioned here are:
- Hydro-dipping – this one’s a little more involved and can be difficult at home, but you can use spray paint to create patterns on a solution before slowly dipping your bow limbs into it. The pattern adheres to the limbs.
- Taping – Gorilla tape comes in a variety of patterns and colours and can be used to easily cover your bow limbs.
Final Thoughts
If you do decide to go ahead and paint recurve bow limbs, following the process outlined above could make all the difference. You have plenty of options when it comes to material and customization methods.
All you need is a well-ventilated room, a sheet of cardboard to go under your limbs while you work, your can of spray paint, and a bit of time and patience! Best of luck with your customization!
0 Comments